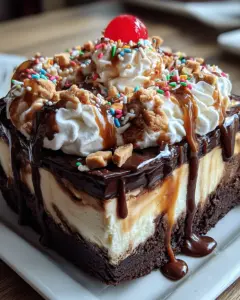
These Mini Cheesecakes are the perfect blend of rich, creamy goodness in a delightful single serving. Their individual portion sizes make them ideal for every occasion, from birthday parties to casual family dinners. With a simple yet decadent graham cracker crust and customizable toppings, these mini desserts will surely impress your guests and satisfy your sweet tooth.

Why You’ll Love This Recipe
- Individual Portions: Perfectly sized desserts mean no sharing required! Each guest gets their own delicious cheesecake.
- Easily Customizable: Top with your favorite fruits or sauces for a personal touch that caters to everyone’s taste.
- Quick to Prepare: With a prep time of just 15 minutes, you can whip these up in no time, making them ideal for last-minute gatherings.
- Classic Flavor: Enjoy all the traditional cheesecake flavors without the fuss of a full-sized cake.
- Chill Time Included: These treats are best served chilled. Prepare ahead and have them ready for your next event!
Tools and Preparation
Before diving into the recipe, gather your tools. Having everything ready will help streamline the process and ensure that making these Mini Cheesecakes is a breeze.
Essential Tools and Equipment
- Muffin tin
- Paper liners
- Mixing bowls
- Electric mixer
- Whisk
- Food processor (for optional sauce)
Importance of Each Tool
- Muffin tin: Essential for shaping the mini cheesecakes and ensuring even baking.
- Electric mixer: Helps achieve a smooth and creamy filling in less time compared to mixing by hand.
Ingredients
For the Crust
- 1 cup (114g) finely crushed graham crackers (about 7 full-size sheets)
- 1½ tablespoons (19g) granulated sugar
- 3 tablespoons (38g) butter, melted
For the Cheesecake Filling
- 16 oz cream cheese, well softened
- ¾ cup (150g) granulated sugar
- 1½ tablespoons (12g) all-purpose flour
- 2 large eggs
- 1 teaspoon vanilla extract
- ¼ cup (58g) sour cream
- ¼ cup heavy cream
Optional Toppings
- Strawberry, blueberry, or raspberry sauce
- Salted caramel sauce
- Fresh mashed berries or fruit curd
- Whipped cream
- Toasted coconut or chopped nuts
- Nutella or cookie butter
- Chocolate ganache

How to Make Mini Cheesecakes
Step 1: Preheat the Oven
Preheat your oven to 350°F (175°C). Line a standard 12-cup muffin tin with paper liners to prepare for the crust.
Grab This Chef Knife Now - Almost Gone!
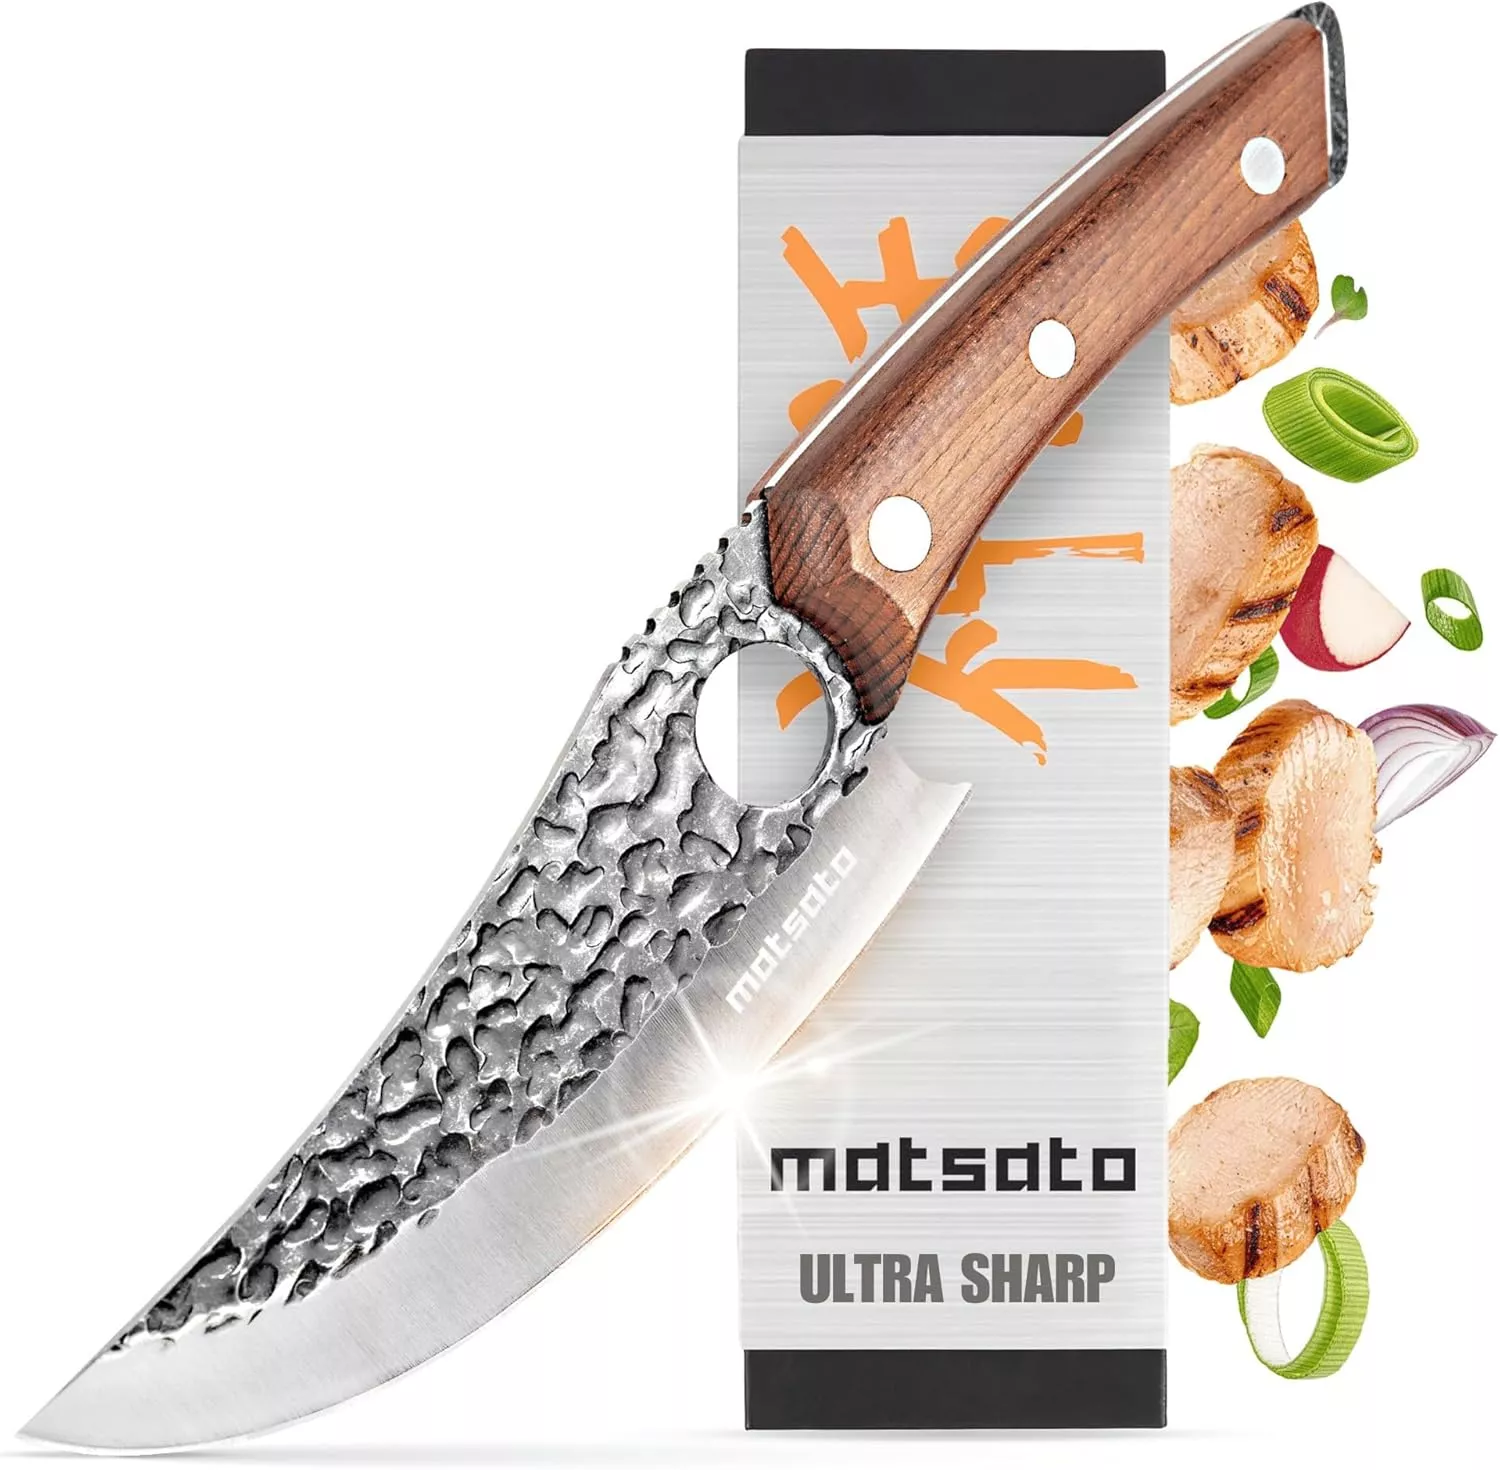
- Stays Razor-Sharp: Ice-hardened blade keeps its edge longer than ordinary knives
- Superior Grip Control: Unique finger hole design gives you perfect balance and safety
- Built to Last a Lifetime: Premium stainless steel blade with elegant beech wood handle
Customer Reviews ★★★★★
Step 2: Make the Crust
- In a mixing bowl, combine the crushed graham crackers and granulated sugar.
- Stir in melted butter until all crumbs are coated evenly.
- Divide this mixture among the muffin cups, about 2 tablespoons per cup.
- Press firmly into an even layer at the bottom of each liner.
Step 3: Bake the Crusts
Bake the crusts in the preheated oven for 5 minutes. Afterward, remove from oven and reduce temperature to 325°F (160°C).
Step 4: Make the Filling
- In a small bowl, whisk together sugar and flour.
- In a separate large mixing bowl, add softened cream cheese and pour in the sugar mixture on top.
- Blend on low speed until smooth and creamy.
- Add eggs one at a time while blending on low speed; scrape down sides after each addition.
- Mix in vanilla extract, sour cream, and heavy cream until just combined.
Step 5: Prepare for Baking
Tap the bowl against the countertop about 30 times to release any air bubbles trapped inside.
Step 6: Fill Muffin Cups
Pour the cheesecake filling into each prepared crust nearly to the top.
Step 7: Bake Mini Cheesecakes
Bake at 325°F for about 18–23 minutes. The centers should jiggle slightly but not be liquidy; avoid over-baking as they may crack.
Step 8: Cool and Chill
Allow them to cool in the pan for 1 hour. Then transfer them to the refrigerator and chill for at least another 2 hours before serving.
Step 9: Add Your Favorite Toppings
Just before serving, add any desired toppings such as fruit sauces or whipped cream.
Now you’re ready to enjoy these delightful Mini Cheesecakes! Store leftovers in an airtight container either in the fridge or freezer to savor later.
How to Serve Mini Cheesecakes
Mini cheesecakes are versatile desserts that can be enjoyed in various ways. Whether you’re hosting a party or looking for a sweet treat at home, these individual cheesecakes can be customized to suit any occasion.
Topping Ideas
- Fresh Fruit: Top with strawberries, blueberries, or raspberries for a refreshing touch.
- Chocolate Ganache: Drizzle over the cheesecakes for a rich and indulgent flavor.
- Whipped Cream: Add a dollop of whipped cream for extra creaminess and visual appeal.
- Caramel Sauce: A drizzle of salted caramel adds sweetness and depth to each bite.
Serving Style
- Chilled: Serve directly from the refrigerator for a refreshing dessert experience.
- On a Platter: Arrange on a decorative platter for an eye-catching presentation at parties.
- In Individual Cups: Place mini cheesecakes in clear cups for a fun, layered look.
How to Perfect Mini Cheesecakes
To make sure your mini cheesecakes turn out perfectly every time, follow these helpful tips.
- Boldly Mix Ingredients: Blend the filling ingredients on low speed to avoid incorporating too much air, which can cause cracks.
- Boldly Tap the Bowl: After mixing, tap the bowl against the countertop about 30 times to release trapped air bubbles.
- Boldly Monitor Baking Time: Keep an eye on your mini cheesecakes as they bake; they should jiggle slightly in the center when done but not crack.
- Boldly Chill Before Serving: Allow your cheesecakes to chill in the fridge for at least 2 hours after cooling to enhance their texture and flavor.

Best Side Dishes for Mini Cheesecakes
Mini cheesecakes pair well with various side dishes that complement their rich flavor. Here are some delightful options to consider:
- Fresh Berries: A mix of strawberries, blueberries, and raspberries adds freshness and color to your dessert table.
- Fruit Salad: A light fruit salad provides a refreshing contrast to the creamy cheesecake.
- Chocolate-Covered Pretzels: The salty crunch of pretzels pairs wonderfully with sweet mini cheesecakes.
- Coffee or Tea: Serve with a warm cup of coffee or tea for a comforting end to your meal.
- Cheese Platter: A selection of cheeses offers savory bites that balance the sweetness of the cheesecakes.
- Nutty Granola Bars: These make for a crunchy side that can enhance texture when served alongside creamy desserts.
Common Mistakes to Avoid
Making Mini Cheesecakes can be fun, but several common mistakes can affect the final outcome. Here are some tips to ensure your mini cheesecakes turn out perfectly.
- Boldly choose the right cream cheese: Using low-fat or whipped cream cheese can lead to a less creamy texture. Always opt for full-fat cream cheese for the best results.
- Boldly skip the mixing time: Not blending the filling long enough can leave lumps. Ensure you mix until completely smooth and creamy.
- Boldly overfill the cups: Pouring too much filling into each cup can cause overflow while baking. Fill only to about ¾ full for perfect mini cheesecakes.
- Boldly ignore cooling time: Cutting into cheesecakes too soon can ruin their texture. Allow them to cool in the pan before chilling in the fridge.
- Boldly overlook crust prep: Not pressing down the crust firmly enough may lead to crumbling. Make sure to press evenly and firmly for a sturdy base.
Storage & Reheating Instructions
Refrigerator Storage
- Store Mini Cheesecakes in an airtight container.
- They will last up to 5 days in the refrigerator.
Freezing Mini Cheesecakes
- Wrap each cheesecake individually in plastic wrap.
- Place them in a freezer-safe container; they will keep for up to 2 months.
Reheating Mini Cheesecakes
- Oven: Preheat to 350°F (175°C) and warm for about 10 minutes.
- Microwave: Heat on medium power for 15-20 seconds at a time until warm.
- Stovetop: Use a double boiler method, placing cheesecakes over simmering water for gentle heating.

Frequently Asked Questions
How do I know when my Mini Cheesecakes are done?
The centers should jiggle slightly but not be liquid. If cracks appear on top, they may be overbaked.
Can I make Mini Cheesecakes ahead of time?
Yes! They store well in the refrigerator and can be made up to five days in advance.
What toppings go well with Mini Cheesecakes?
You can use fruit sauces, whipped cream, chocolate ganache, or even fresh berries for delicious variety.
Can I change the flavor of my Mini Cheesecakes?
Absolutely! You can add flavor extracts or mix-ins like chocolate chips or citrus zest to customize them.
Are these Mini Cheesecakes gluten-free?
To make gluten-free Mini Cheesecakes, substitute graham crackers with gluten-free options or use crushed nuts as a base.
Final Thoughts
These Mini Cheesecakes combine classic flavors with individual servings, making them perfect for any occasion. Their versatility allows you to customize with various toppings, ensuring everyone finds their favorite. Don’t hesitate to try this easy recipe that promises delightful bites every time!

Mini Cheesecakes
- Total Time: 45 minutes
- Yield: Makes approximately 12 mini cheesecakes 1x
Description
Indulge in the delightful world of Mini Cheesecakes, where rich, creamy goodness meets perfectly portioned servings. These individual cheesecakes are a crowd-pleaser, ideal for any occasion—from birthday celebrations to casual family dinners. With a simple graham cracker crust and endless customization options for toppings, you can create a dessert that impresses guests and satisfies your sweet cravings. Prepare them in just 15 minutes, chill, and serve these irresistible treats at your next gathering!
Ingredients
- 1 cup finely crushed graham crackers
- 1½ tablespoons granulated sugar
- 3 tablespoons butter, melted
- 16 oz cream cheese
- ¾ cup granulated sugar
- 1½ tablespoons all-purpose flour
- 2 large eggs
- 1 teaspoon vanilla extract
- ¼ cup sour cream
- ¼ cup heavy cream
- Optional toppings (fruits, chocolate ganache, whipped cream)
Instructions
- Preheat oven to 350°F (175°C). Line a muffin tin with paper liners.
- Combine graham cracker crumbs and sugar; mix in melted butter. Press into muffin cups.
- Bake crusts for 5 minutes; reduce oven to 325°F (160°C).
- Blend cream cheese and sugar mixture until smooth; add eggs one at a time.
- Mix in vanilla extract, sour cream, and heavy cream until well combined.
- Fill each crust with cheesecake filling and bake for 18–23 minutes.
- Cool for 1 hour, refrigerate for at least 2 hours before serving.
- Prep Time: 15 minutes
- Cook Time: 30 minutes
- Category: Dessert
- Method: Baking
- Cuisine: American
Nutrition
- Serving Size: 1 cheesecake (75g)
- Calories: 220
- Sugar: 15g
- Sodium: 180mg
- Fat: 14g
- Saturated Fat: 8g
- Unsaturated Fat: 4g
- Trans Fat: 0g
- Carbohydrates: 21g
- Fiber: <1g
- Protein: 3g
- Cholesterol: 70mg